How to set up Drive DLP in Google Workspace
Data Loss Prevention (DLP), also known as data leak prevention, is one of the most opted for data security measures by IT professionals. It is a solution that monitors, detects, and prevents sensitive data from being shared outside an organization. Most company data is confidential, so it is especially important to prevent unauthorized sharing of confidential information that can put the organization at risk. As most companies store data on the cloud, let’s talk about Drive DLP, Google’s own cloud DLP. Here we walk you through the entire configuration process step by step and provide examples of DLP use cases to protect your organization’s Google Drive data.
Enable Data scanning and report in the Google Admin Console
Step 1. Access the Google Admin Console (using an admin account).
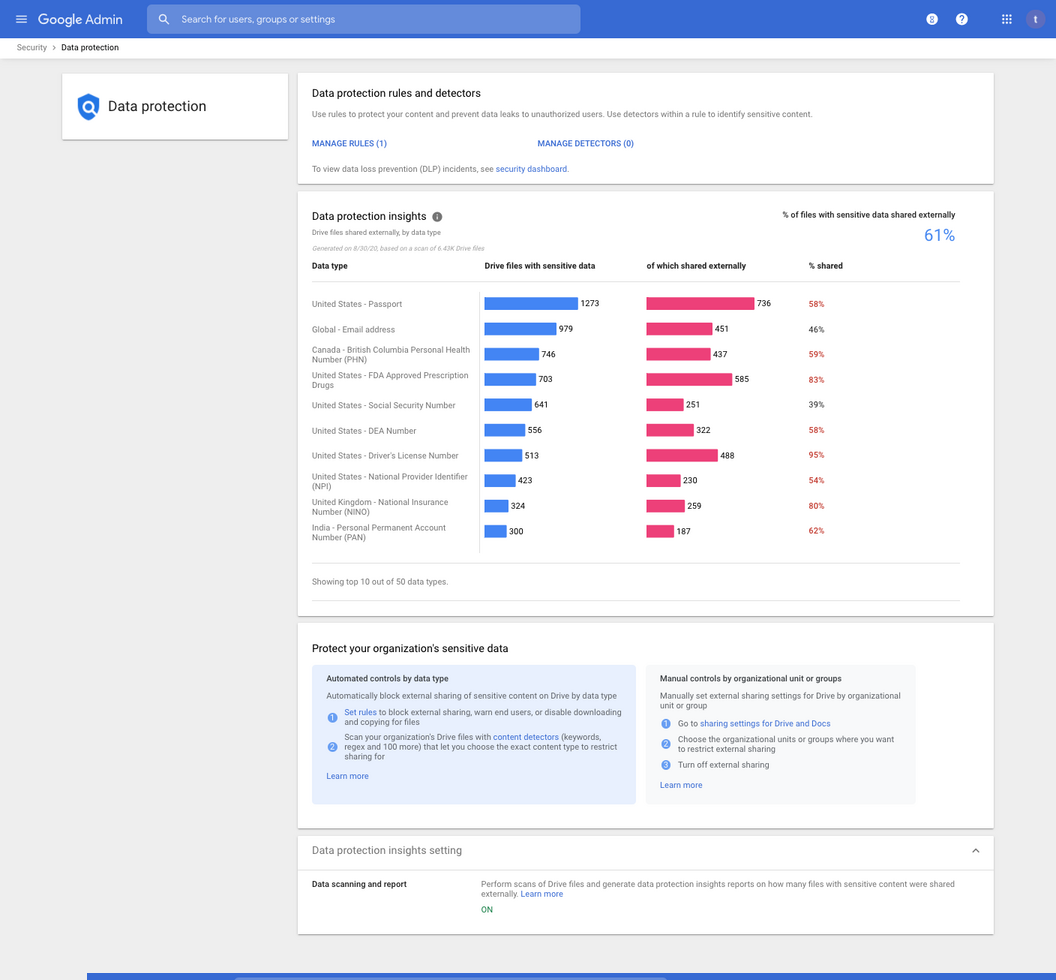
Step 2. Click Security > Data Protection
Step 3. At the bottom of the page, enable the Data scanning and report setting to have your DLP detectors reported in the Data Protection Insights Dashboards (see screenshot below). We recommend you keep this setting ON for audit and compliance purposes.
DLP detectors, rules, and actions flow

Create custom detectors
(Skip this part if you’ll be using a rule template or default detectors)
- Click Manage Detectors > Add detector
- Select Regular expression or a Wordlist (depending on your needs)
- Name and configure the custom detector
Create rules
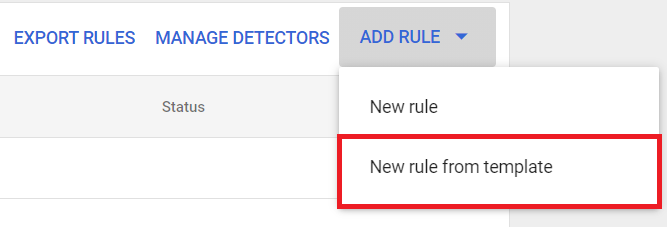
- Go to Manage rules > Add rule
- Select New rule or New rule from template
- Name and define the Scope of your scans (OUs and groups)
- Determine the Triggers of events and set Conditions to define sensitive content as refinement steps.
- Determine the Appropriate Actions (Alert, Action, Severity)
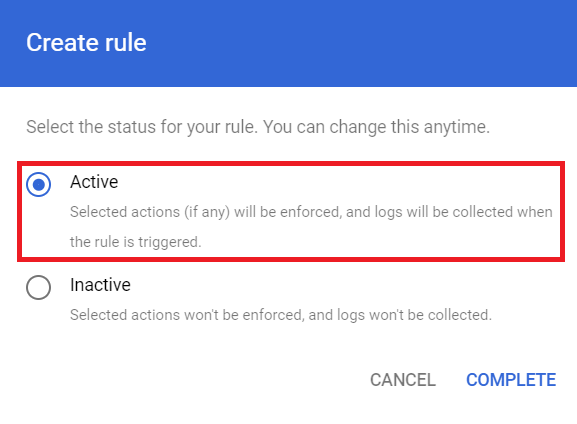
- Review - Lastly, you get to review the rule and choose whether to activate it or not. After that, your rule has been created.
Examples of DLP rules for Google Drive
Although Google has made it easy to implement DLP rules through default detectors and templates, organizations are able to create their own custom rules and detectors. We will cover an example of each DLP configuration below.
- Protect Credit Card Numbers with default detectors
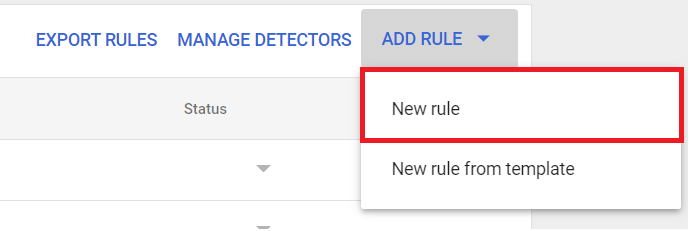
Step 1: Enter Google Admin ConsoleStep 2: Access Security > Data Protection > Manage RuleStep 3: Click Add Rule > New Rule
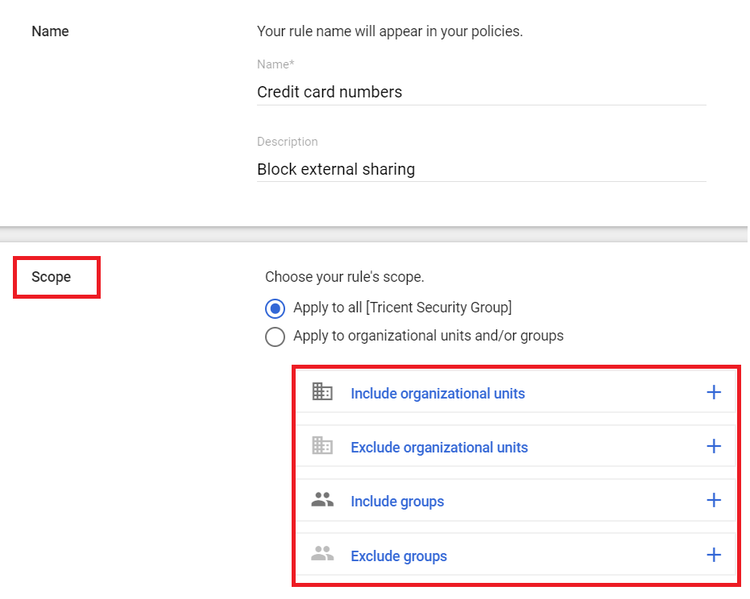
Step 4: Add the name and description for the ruleStep 5: Select the scope of the rule (see screenshot)
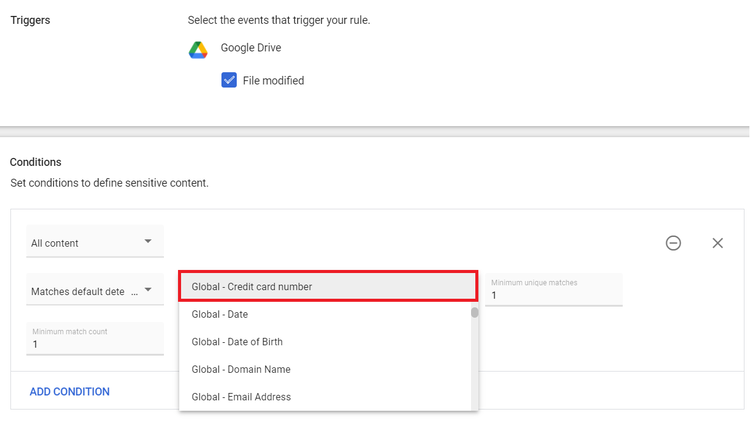
Step 6: Check the File Modified box and add/select:Field- All content
Value - Matches default detector
Default detector - Global - Credit card number
Likelihood Threshold - Possible
Minimum unique matches - 1
Minimum match count - 1
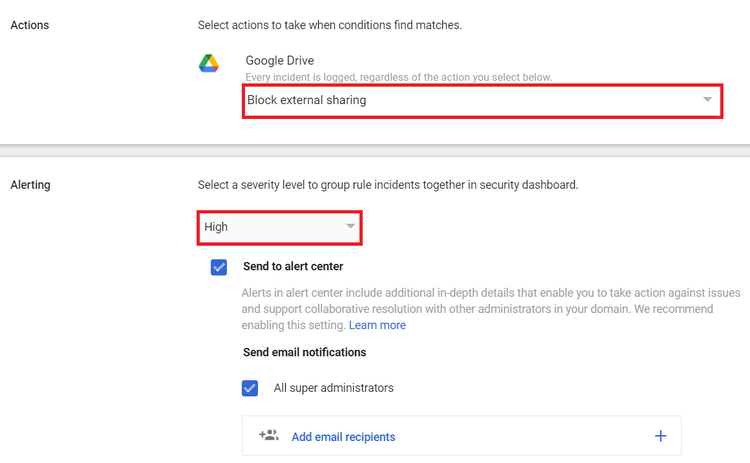
Step 7: Select the Action and the Alerts you want to enforce
Step 8: Review and Create Rule
2. Use template to prevent financial information sharing
Step 1: Enter Google Admin Console
Step 2: Access Security > Data Protection > Manage Rule
Step 3: Click Add Rule > New rule from template
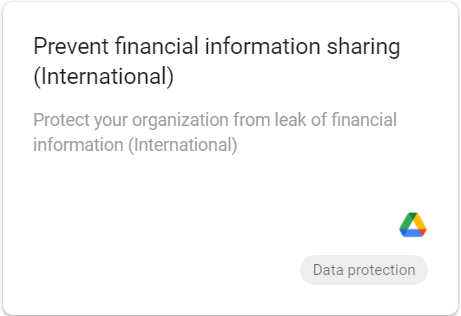
Step 4: Select the template “Prevent financial information sharing”
Step 5: Select the scope of the rule
Step 6: Review the conditions and create the DLP rule
3. Protect files containing sensitive keywords (custom detectors)
Step 1: Enter Google Admin Console
Step 2: Access Security > Data Protection > Manage Detectors
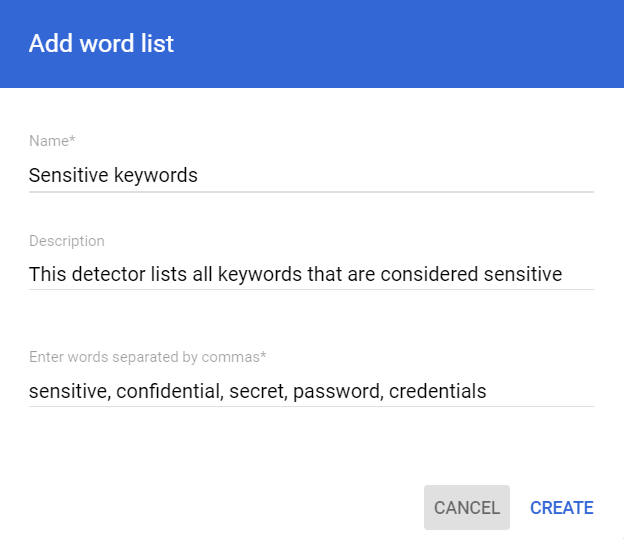
Step 3: Click Add Detector and select Wordlist
Step 4: Fill out name, description and keywords (see screenshot)
Step 5: Click Manage Rules > New rule
Step 6: Repeat the same process as stated in example 1 and 2.
Tip:
- Use the Investigation Tool to view and review the performance of your DLP events and rules (Enterprise only)
- Use the Alert center to get a summary of the DLP alerts you have configured.